How to Build an SEO-Optimised Blog in Webflow
Create an SEO-friendly blog on Webflow with optimised CMS setup.

Introduction
One of the most lucrative assets even today is to have a blog on your website. It provides a platform to share resources, case studies, and updates and significantly enhances your website's SEO performance, driving more traffic and potential leads to your site.
Using Webflow's intuitive design and editor modes when creating and managing an SEO-friendly blog is one of the best ways to ensure your blogs are SEO-ready. In this guide, we'll walk you through the steps to create a fully optimised blog on Webflow from start to finish.
Setting Up Your Blog Collection
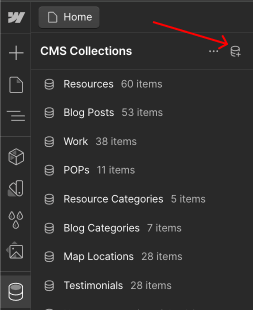
The foundation of your blog in Webflow starts with creating a CMS Collection. This Collection will serve as the database for all your blog posts. To set it up effectively, add crucial fields that will optimise your blog for SEO.
The Essentials
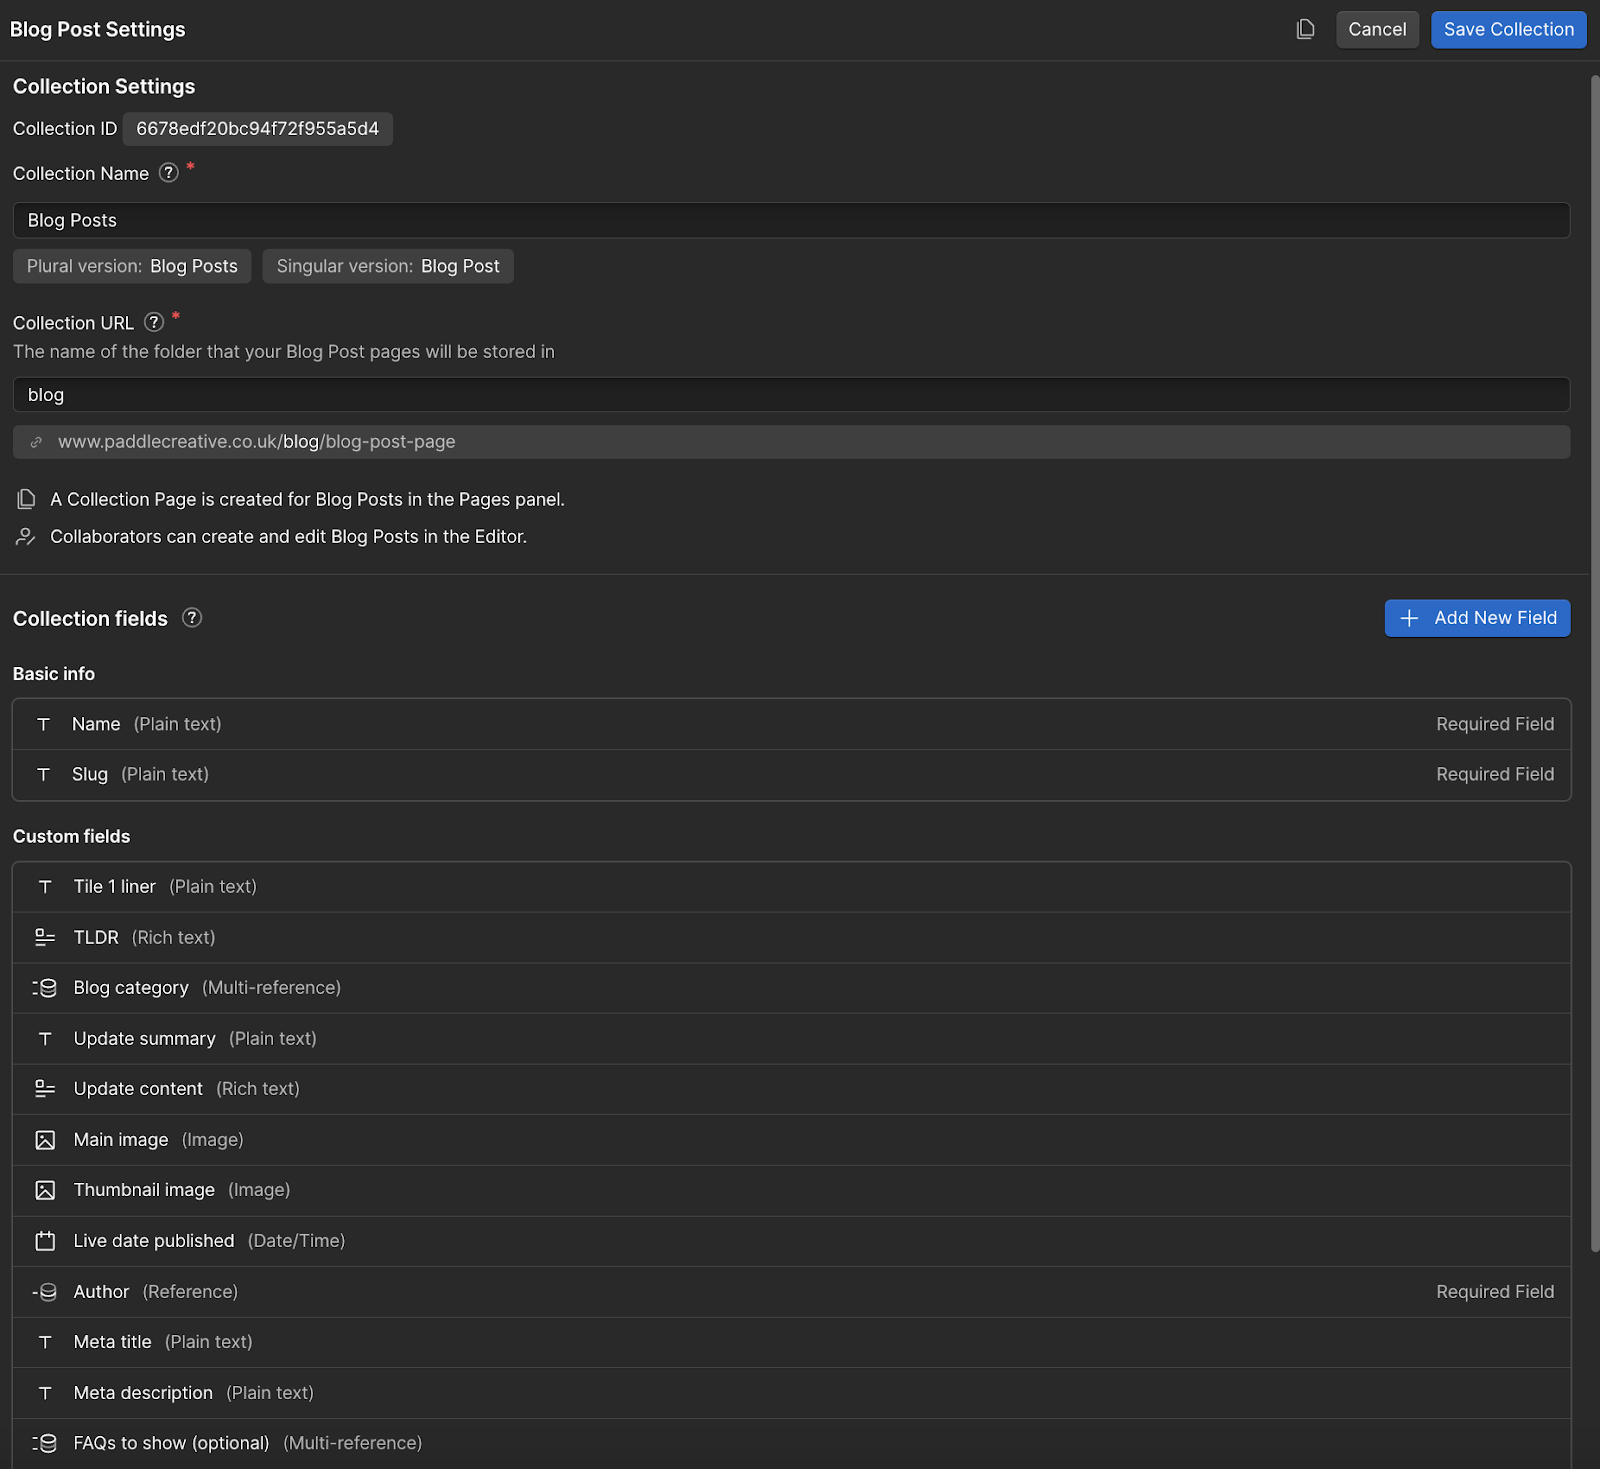
Rename the default "Name" field to "Title" as this will serve as the title of your blog post and act as the H1 heading, which is essential for SEO purposes.
Additionally, include a plain text field for the SEO Meta title, ideally limited to 60 characters to align with SEO best practices, and another plain text field for the meta-description, with a 160-character limit to ensure it meets SEO guidelines. An image field for the Open Graph image is also important, adhering to the size of 1200 x 630 pixels.
Read more about SEO Meta title and description here.
Did you know? Webflow recently launched an AI content generator for the CMS. So you won’t have to deal with the boring ‘Lorem Ipsum…’ text while designing your blog.
Webflow CMS Blog Setup Process
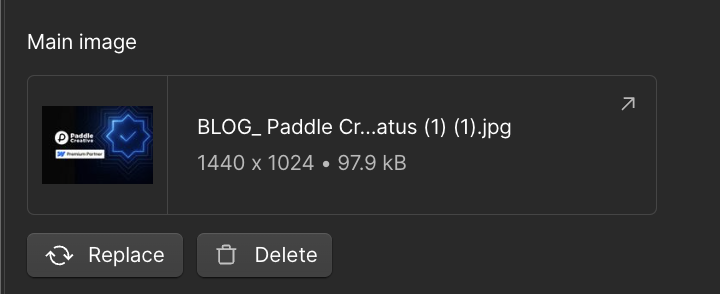
Next, include fields that will enhance the content and appearance of your blog posts. Add a summary field for a summary of your article, a main image field for the primary image, and an alt text field for the main image to enhance accessibility and SEO. Also, add a thumbnail image field for the image that appears on the blog listing page, along with alt text for this thumbnail. A rich text field for the post body will allow you to add your article's main content, including images, videos, links, and more.
Blog Sorting and Organisation in Webflow
Add fields for categorising your content for better organisation and filtering. This includes a reference or multi-reference field for categories, where you’ll need to create a separate "Categories" collection and another for authors, requiring an "Author's" collection. A switch field to mark certain articles as featured and a date field to note when the article was published will also be beneficial.


Once you’ve set up your collection with these fields, populate it with a few sample items. This will help you visualise your blog during the development phase, and finally, include a publish date field.
Designing the CMS Blog Overview Page
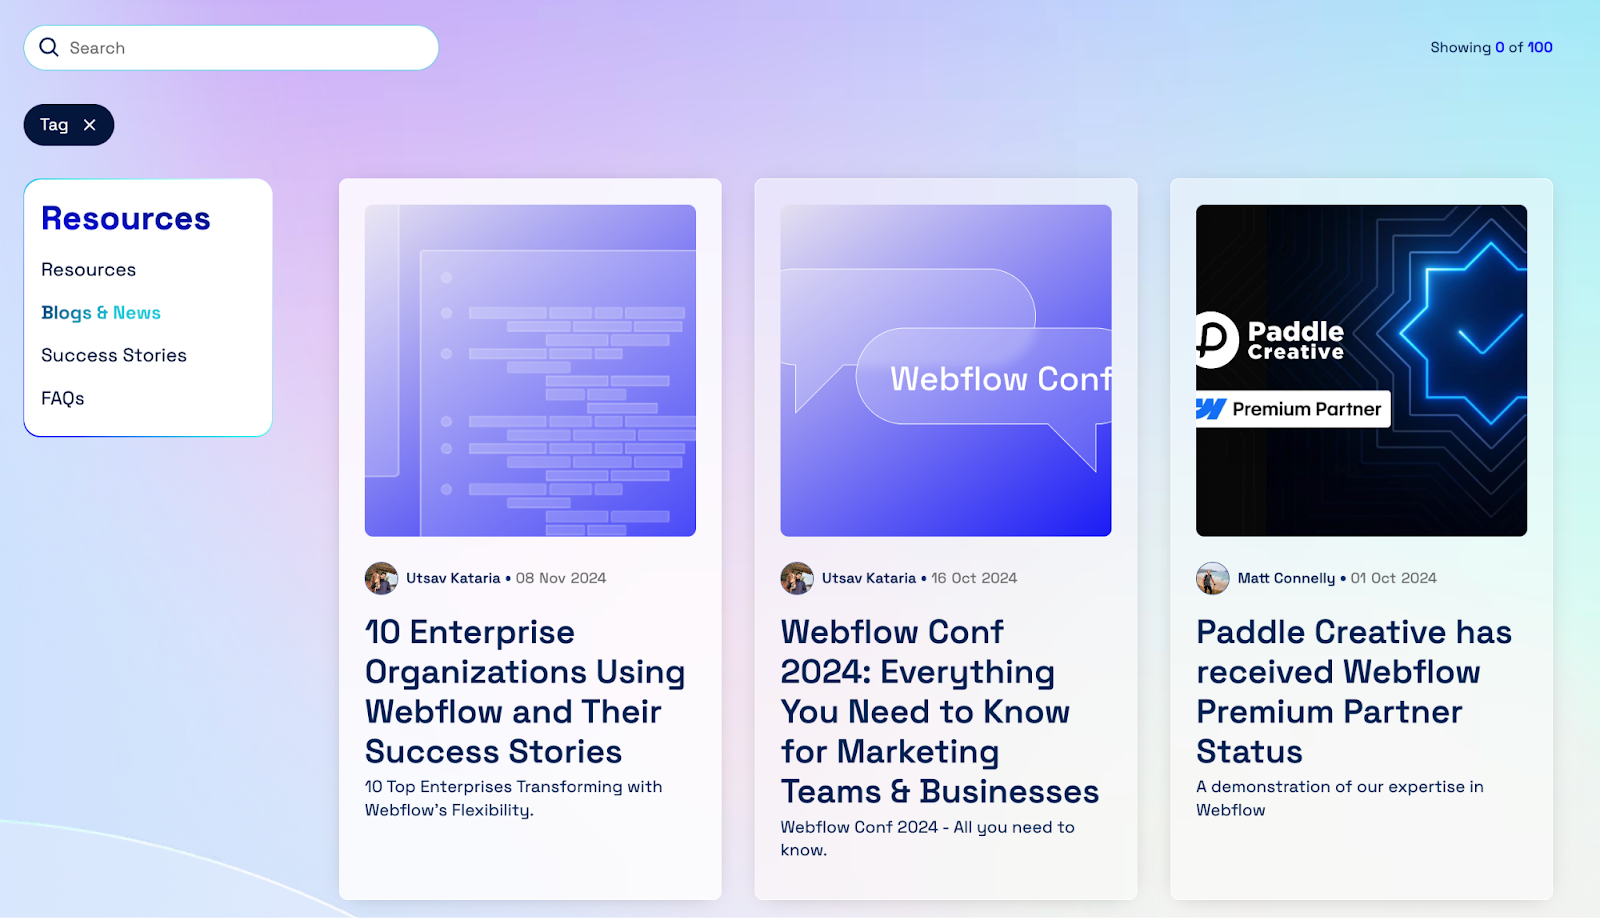
With your collection ready, the next step is to design the blog page displaying all articles, which is often called the ‘blog overview page’.
If you have a " Featured " field, start by creating a section to showcase featured articles. Use a basic structure (e.g., Section > Page Padding > Container > Vertical Padding) and add a div to contain your featured items. Connect this div to your blog collection and filter by the "Featured" field.
You can do this for your articles, too. Remember to connect this section to your blog collection and use a display grid or list format to arrange the posts. Include elements like the thumbnail image, categories, title, and summary, ensuring each element is connected to its corresponding field in the collection. Ensure all fields, including alt text for images, are connected properly. Apply a sorting order to display posts by publication date, from newest to oldest, so website visitors can effectively filter through your content.
Developing the Webflow CMS Template page
With the blog page set, it's time to design the individual article pages. Access the template for your blog collection from the CMS collection pages in Webflow and customise the page layout according to your design preferences, ensuring each element (title, body, images, etc.) is connected (or ‘bound’) to the corresponding field in your collection.
Configuring SEO and Open Graph Settings
Finally, optimise your dynamic pages for SEO and social sharing. In the "Title Tag" field of your template, connect it to the "SEO Title" field and do the same for the "Meta Tag," linking it to the "SEO Meta-description" field.


Set the “Open Graph Title” and “Description” in the Open Graph settings to match the SEO Title and meta description. Select the custom "Open Graph" field for the Open Graph Image.

Conclusion
In doing this, you'll have a robust, SEO-friendly blog on your Webflow site, ready to drive traffic and enhance your online visibility. With Webflow's powerful design tools and your newly optimised blog, the sky's the limit for your content strategy. If you would like to find out more about search engine optimisation, get in touch with Paddle Creative.

.svg)
.svg)


