.svg)
Mastering Conditional Visibility by Date in Webflow

Introduction
Webflow's dynamic capabilities allow for the customisation of collection items through conditional visibility. This feature enables you to create and display variants of items based on specific criteria. In this guide, we'll focus on using conditional visibility in Webflow to highlight items that have upcoming start dates, making your collection items more engaging and timely.
Step 1: Adding a Date Field to Your Collection
To begin, you'll need to add a date field to your collection. This field will be used to determine when an item should be visible based on its start date. Here’s how to do it:
Access Your Collection
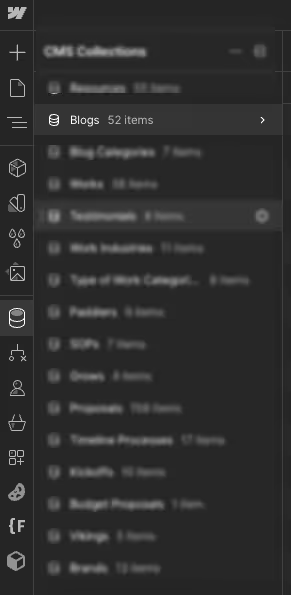
Open your Webflow project and navigate to the Collection where you want to apply conditional visibility.
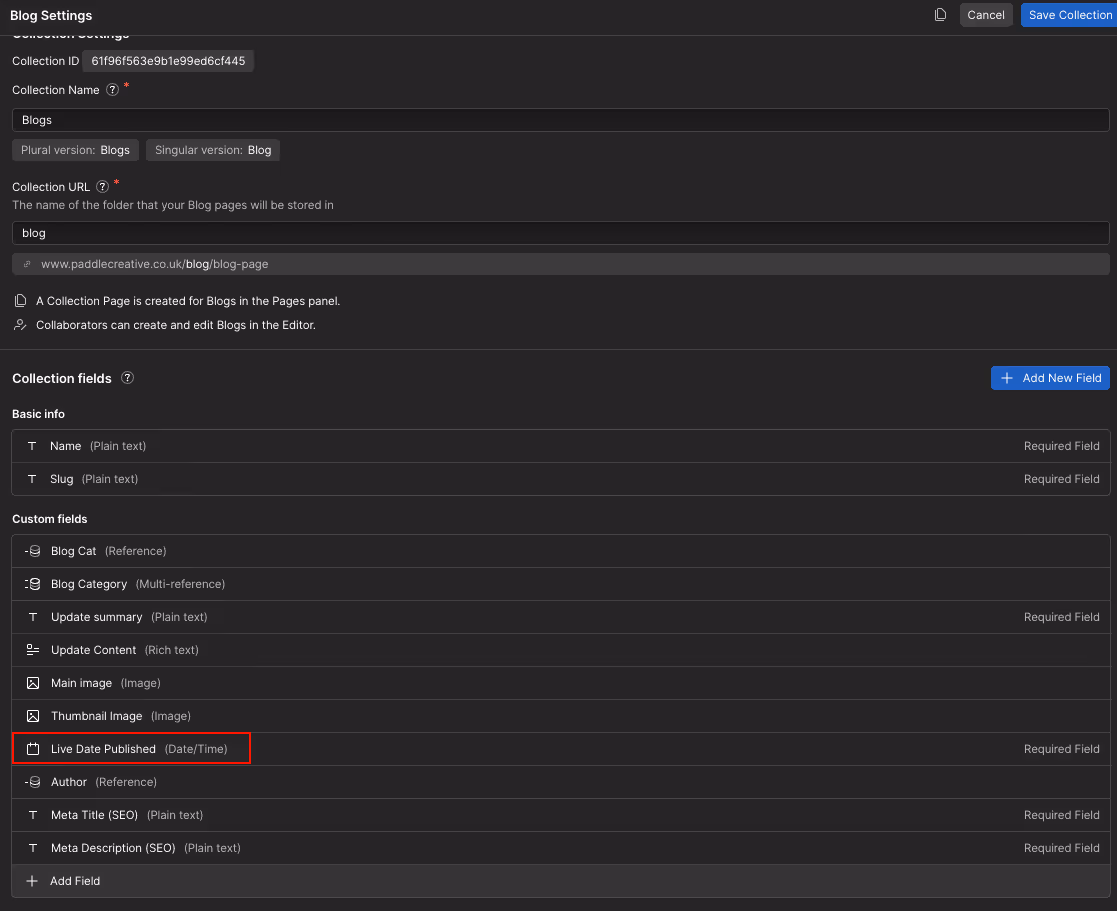
Add a Date Field
Within the Collection settings, add a new field and choose the date type. Label this field appropriately, such as "Start Date".
Populate the Collection
Enter the relevant dates for each item in your collection. For instance, if you are managing events, input the start dates for each event.
Step 2: Designing the Style for Conditional Items
Next, you'll create a unique style for items that meet your date condition. This could be as simple or complex as you like. For this example, we'll create a "Coming Soon" overlay. Follow along with the steps below to do this…
Create a Div Block
Add a Div block to your item layout. This will serve as the container for your overlay.
Add Overlay Content
Inside the Div block, add a text element that says "blog-list-item" or any other message that fits your needs. You’ll add conditional visibility to this later on to prevent the style from being assigned to every item.
Style the Div Block
Customise the Div block and text to match your site's design.
Step 3: Applying Conditional Visibility by Date
Now, we'll configure the conditional visibility settings to ensure that the "Coming Soon" overlay only appears for items with start dates in the future.
Select the Div Block
First, select the Div block you created in Step 2.
Access Conditional Visibility Settings
Then, in the settings panel, find and select the conditional visibility option.
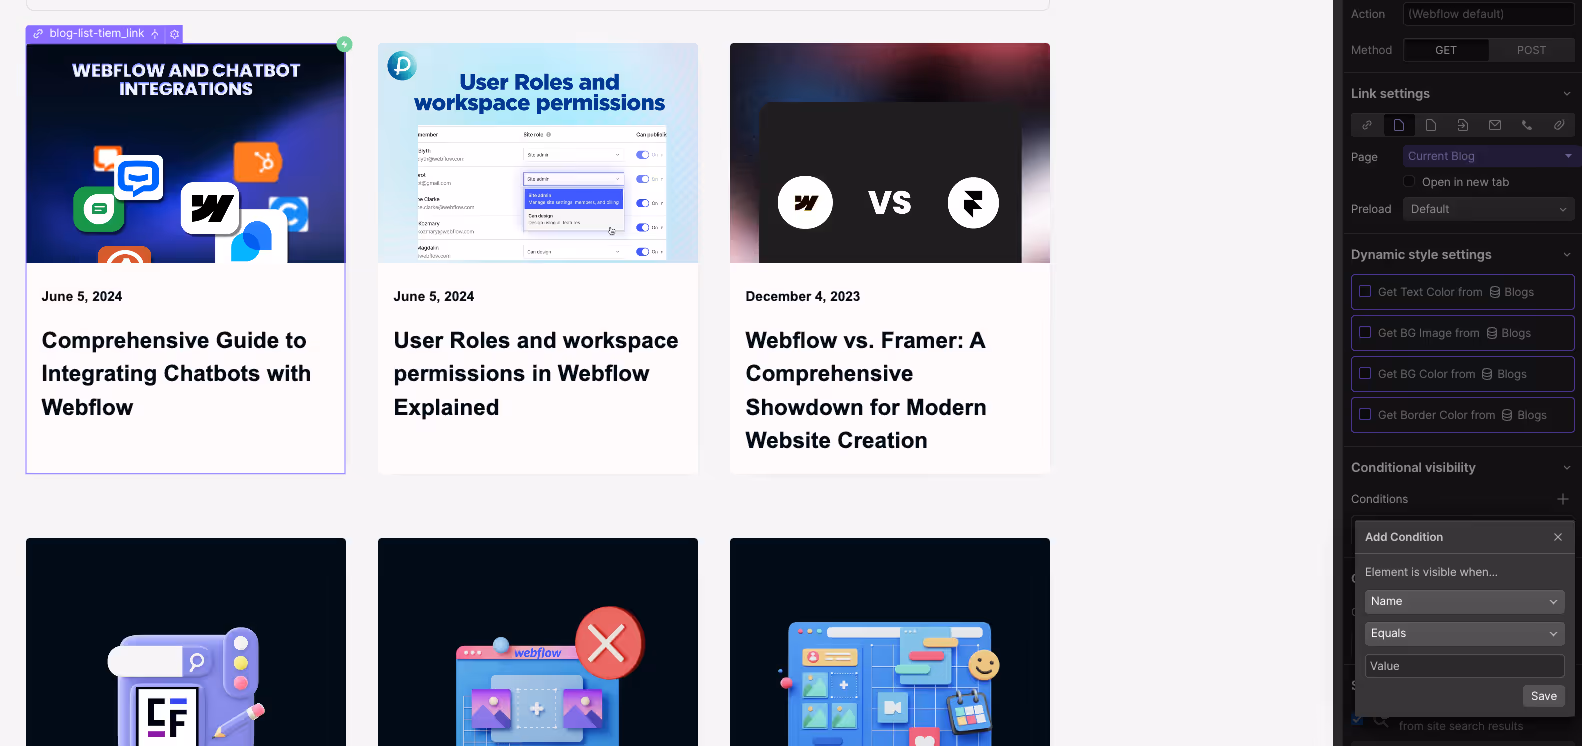
Set the Condition
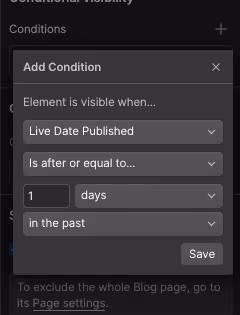
To set the condition, choose the date field you created earlier, such as "Start Date”. Next, select the condition "Is after or equal to" from the dropdown menu. Finally, set the value to "0 days." This condition will apply to all items with a start date that is today or in the future. Once you’ve set the conditional visibility, make sure you save the changes.
Customising Further
You can customise these settings to fit more specific needs:
Is after or equal to: Displays items starting from today and into the future.
Is before or equal to: Displays items from the past or up to a specified date.
Mastering this element means you can create different styles for items starting in 1 week, 2 weeks, 1 year, etc. This customisation level can help you dynamically manage events, promotions, or any time-sensitive content.
Conclusion
By following these steps, you can effectively use Webflow’s conditional visibility feature to highlight upcoming events or other time-sensitive items. This not only enhances the user experience but also ensures that your content remains relevant and timely. Whether you’re managing an events page or a blog, this feature offers a powerful way to keep your audience informed about what’s coming next.
Want to know more? Get in touch with the Paddle Creative team.
.jpg)
%20(1)%20(1)%20(1).jpg)
.jpg)
%20(1).avif)
.avif)
.avif)