.svg)
Automatically Update Copyright Year in Webflow

How to Automatically Update the Copyright Year in Webflow
Keeping your website's copyright year up to date can be tedious. Fortunately, with Webflow and a bit of JavaScript, you can automate this process. In this guide, we'll walk you through two methods to automatically update the copyright year on your Webflow site.
Introduction
In this tutorial, we'll show you two methods for updating the copyright year automatically using JavaScript in Webflow. Both methods have their pros and cons, so you can choose the one that best fits your needs.
Method 1: Using a Text Block and Custom Code
This method involves using a text block wrapped in a span and adding some custom code. It's slightly more involved than the second method, but it looks nicer in the Webflow Designer.
Step 1: Add a Text Block
- Add a Text Block: Add a text block to your page where you want the copyright notice to appear.
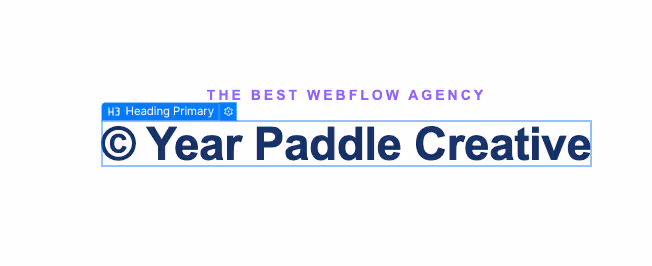
- Wrap the Year in a Span: Highlight the year part of the text and wrap it in a span. This can be done by selecting the year, right-clicking, and choosing the option to wrap it in a span.
Step 2: Add a Class to the Span
- Assign a Class: After wrapping the year in a span, give this span a class name. For this example, we'll use copy-year. This class will be used in the JavaScript code to identify and update the year.

Step 3: Add Custom Code
- Access Project Settings: Go to your project settings in Webflow.
- Insert Custom Code: Navigate to the Custom Code section and paste the following JavaScript code:

Explanation of the Code
- DOMContentLoaded Event: Ensures the code runs after the content of the page is loaded.
- Query Selector: Selects the element with the class copy-year.
- Date Function: Gets the current year.
- Text Content: Updates the text content of the selected element to the current year.
Step 4: Publish Your Site
After adding the code, publish your site. The year will automatically update to the current year. It won't update in the Webflow Designer but will be visible on the live site.
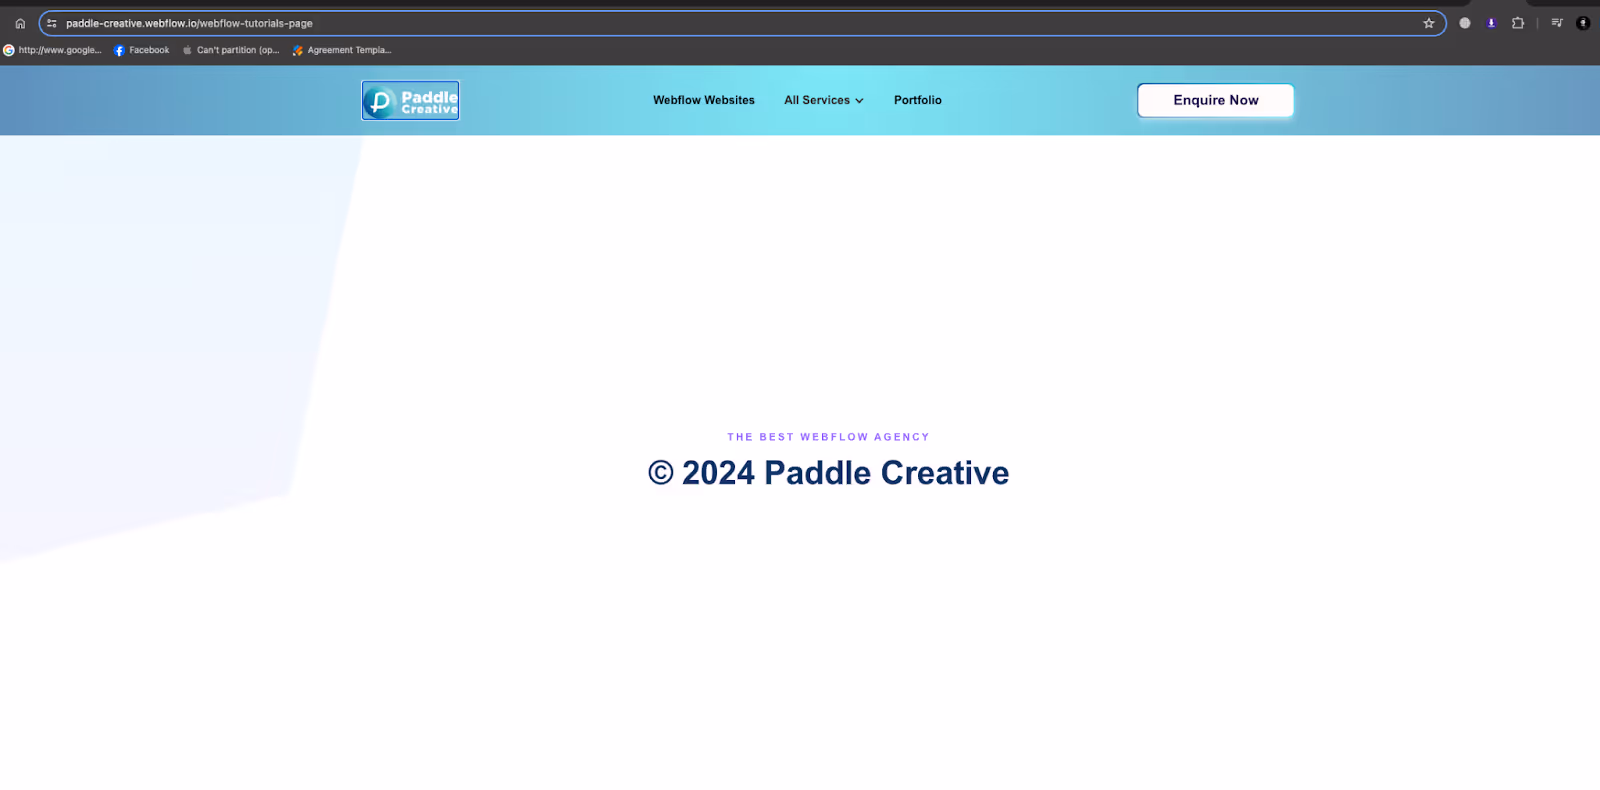
Conclusion - Voila! It’s done.
Both methods effectively update the copyright year automatically using JavaScript in Webflow. Method 1, using a text block and custom code, integrates more smoothly into the Webflow Designer, while Method 2, using an embed block, is simpler but less visually integrated. Choose the method that best suits your workflow and design preferences.
By following these steps, you can save time and ensure that your website's copyright year is always current. If you found this tutorial helpful, be sure to check out more of our Webflow tips and tricks.
.jpg)
%20(1)%20(1)%20(1).jpg)
.jpg)
%20(1).avif)
.avif)
.avif)