.svg)
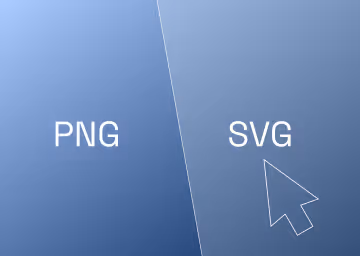
Converting PNG Images to SVG Vectors in Figma
Learn how to convert PNG images to SVG vectors in Figma
TL:DR
- Install the Tool: Use the Figma Community to install the Image Tracer plugin, which handles the complex conversion of raster images to vectors.
- Prep the Asset: For the cleanest results, ensure your PNG is high-contrast (black and white is ideal) before importing it into your Figma canvas.
- Fine-Tune the Trace: Adjust the Threshold and Smoothness settings in the Image Tracer options to control the final vector shape and eliminate noisy edges.
- Boost Performance: Export the final, clean asset as an SVG file. This guarantees pixel-perfect quality at any scale and improves the load speed of your Webflow site.
- Pro Tip: Image Tracer works best for simple logos and icons; complex photos or gradients will require manual design cleanup.
Introduction: Converting Raster Images to Vectors in Figma
SVG files provide high-quality, scalable images that are essential for website performance and visual fidelity. Unlike raster images (like PNGs or JPEGs), SVGs are vector-based, meaning they maintain perfect quality at any screen size or resolution – a non-negotiable for logos and icons on modern websites.
Figma lets you convert PNGs into scalable SVG vectors using powerful plugins like Image Tracer. This guide shows you step-by-step how to vectorise a PNG in Figma, what settings to use for the best results, and how to export your final SVG for Webflow or other design tools.
What is Figma, and Can It Convert Raster Images to Vectors?
Figma is a powerful web-based design tool used for UI design, prototyping, and collaboration. While Figma offers exceptional native tools for creating vector graphics, it can’t natively vectorise (trace) a raster image like a PNG.
However, Figma’s extensive plugin ecosystem extends its functionality. For this task, we rely on the Image Tracer plugin, which handles the complex conversion for you, turning the black edges of your PNG into a mathematically defined vector path.
Step 1: How Do I Install the Image Tracer Plugin in Figma?
To begin vectorising your PNG, you first need the right tool: the Image Tracer plugin.
- Open your Figma project file.
- Navigate to the Action section in the toolbar.
- Search the Plugins for "Image Tracer".
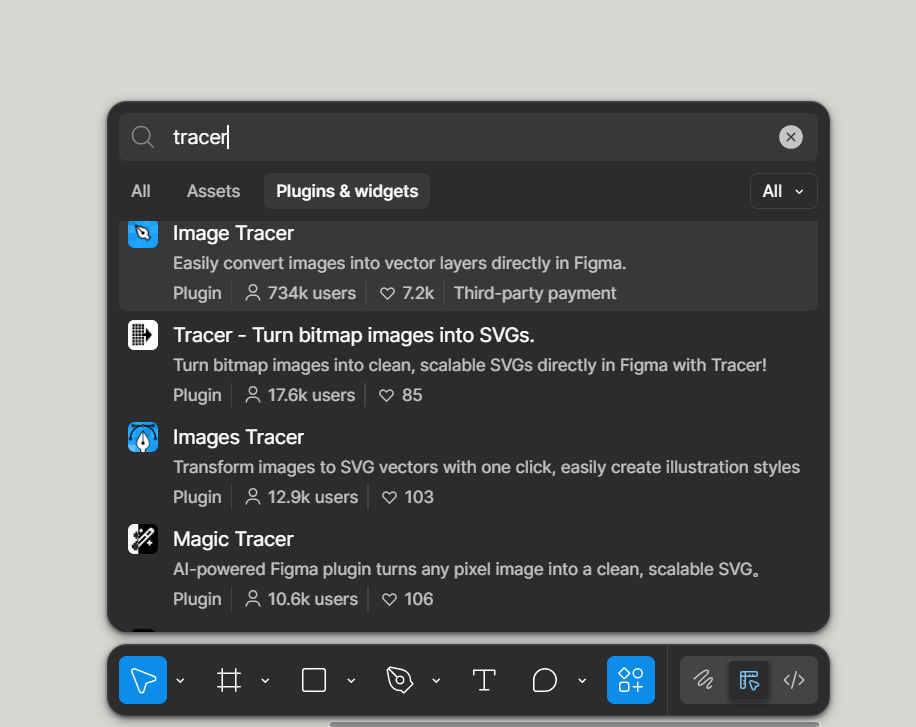
4. Click on an image in Figma and click the "Run" button to open the plugin inside Figma.
Step 2: How Do I Import a PNG into Figma?
It's best to use a high-contrast, black-and-white PNG for optimal vectorisation results.
You can import the PNG file you want to convert in one of two ways:
- Drag & Drop: Drag the PNG file directly from your desktop into your open Figma project canvas.
- Copy & Paste: Copy the image from its source and paste it into Figma.
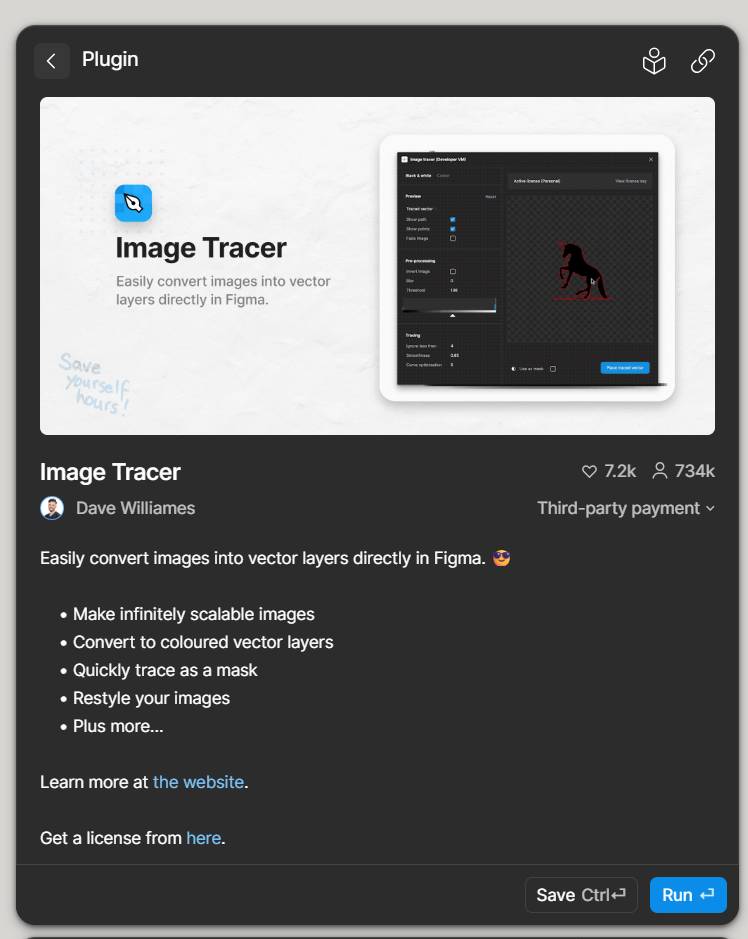
Step 3: How Do I Launch the Image Tracer Plugin?
With your image placed in Figma, it's time to launch the conversion tool.
- Right-click on the imported PNG image on the canvas.
- Hover over "Plugins" in the context menu.
- Click on "Image Tracer" under your installed plugins list.
Paddle Creative Insight 1: At Paddle Creative, we regularly convert PNG logos to SVG before uploading to Webflow. Vectorising them early helps us maintain pixel-perfect quality across all breakpoints and significantly reduces page load times, which is critical for Core Web Vitals performance.This is a core part of how we build award-winning Webflow websites that empower marketing teams rather than slowing them down.
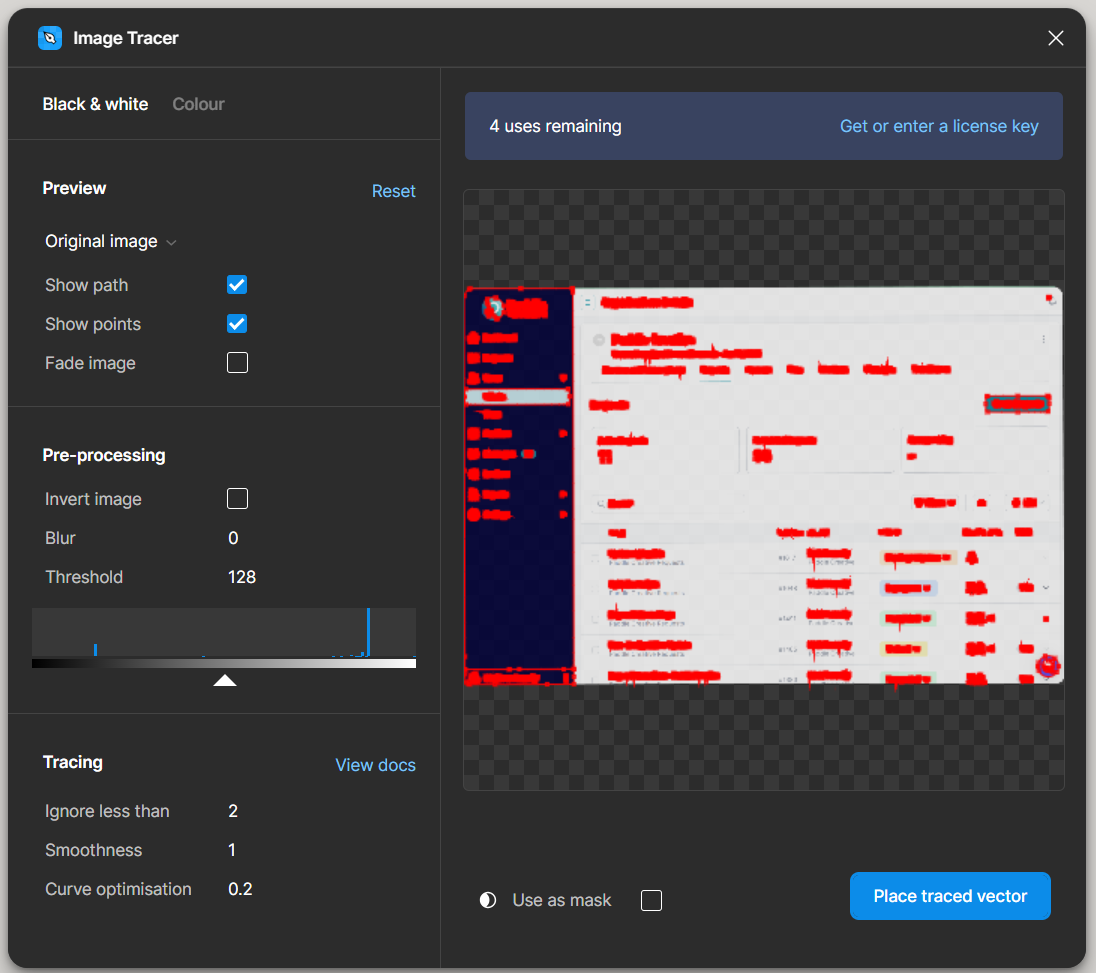
Step 4: How Do I Adjust Image Tracer Settings for Best Results?
After launching the plugin, the Image Tracer window will display a preview of the vectorised image.
- If you are unhappy with the default result, click "Show options".
- Threshold: Adjust this slider to control how sensitive the tracer is to different shades (useful for cleaning up blurry edges).
- Smoothness: Use this to define how angular or smooth the resulting vector curves should be.
- Once you are satisfied with the vector preview, select "Place Trace Vector".
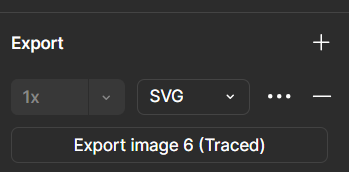
Step 5: Fetch and Export the Final SVG
Selecting "Place Trace Vector" will overlay the clean vector path onto your original PNG image.
- Move the new vector layer off the original PNG image to inspect the rendering clearly.
- Make any further design modifications (like changing the fill colour) to the vector within Figma.
- With the vector layer selected, go to the "Design" panel on the right.
- Scroll down to the "Export" section, select "SVG" from the format dropdown, and click the "Export" button.
Paddle Creative Insight: We've found that Image Tracer performs best with high-contrast, simple graphics like logos and icons. Complex, low-contrast photos or gradients rarely vectorise cleanly. In those cases, our team provides dedicated Webflow maintenance and support to help redraw assets manually, ensuring brand integrity and file cleanliness without the technical headache for your team.
Conclusion
That's how simple it is to use a plugin to convert and export PNG images to SVG vectors in Figma. These steps ensure your most critical Webflow website images look sharp across every screen, boosting both your site's functionality and its professional appeal.
If you are moving from a platform that relies on heavy, unoptimised imagery, we can help you migrate your website to Webflow effortlessly. We take on the technical burden so you can focus on the big-picture marketing metrics that actually move the needle
.jpg)
%20(1)%20(1)%20(1).jpg)
.jpg)
%20(1).avif)
.avif)
.avif)