.svg)
How to Add Schema Markup to a Webflow Website

Introduction
If you have a website built on Webflow, adding Schema Markup can be a powerful way to improve your site’s visibility and performance in search engines. In this resource, we’ll explore what Schema Markup is, its benefits, and how you can add it to your Webflow website.
What is Schema Markup?
Schema Markup is a type of structured data, or microdata, that you can add to your website’s HTML code to help search engines understand your content. It provides a way for you to tell search engines exactly what your content is about and how it should be categorised. When you add Schema Markup to your website, it can improve your search engine rankings and make your website more visible to potential visitors.
It’s important to know that your search rankings do not instantly improve as a result of schema. Rather, schema can make your website aesthetically stand out on search results pages. There is a higher likelihood that visitors will click on your website or content when this happens.
Benefits of Schema Markup
In today's digital age, having a website for your business is a necessity, but it's not enough to simply have a website. To make the most out of your online presence, it's important to ensure that your website is easily discoverable and accessible to your target audience.
This is where Schema Markup comes into play. By adding Schema Markup to your website, you can reap several benefits, here’s a list of a few of those benefits:
1. Improve Click-Through Rate (CTR):
Schema markup provides search engines with more information about your website and the content it contains, making it easier for search engines to display relevant results. As a result, search engine users are more likely to click on your website when it appears in search engine results.
2. Increase Visibility in SERPs:
Schema markup provides search engines with additional information about your website, which can help your website stand out from the competition in search engine results pages (SERPs).
3. Enhance Rich Snippets:
Rich snippets are snippets of additional information about your website that appear in SERPs. These snippets provide additional context about your website and can help draw the attention of searchers. Schema markup is essential for creating rich snippets.
4. Boost Local SEO:
Schema markup can help you improve your local SEO by providing search engines with additional information about your business, such as your address, phone number, and contact information.
5. Enhance Voice Search:
Voice search is quickly becoming more popular, and schema markup is essential for helping search engines understand the context of your website so they can accurately answer voice search queries.
By implementing Schema Markup, you can help search engines better understand your website's content, leading to higher visibility in search results, enhanced user experience, and ultimately, greater online success for your business.
How Google Uses Schema Markup
Google uses Schema Markup to help understand the content on your website and provide more informative search results. When you add Schema Markup to your website, Google can use this information to create rich snippets in search results, which can include additional information such as ratings, reviews, and pricing.
For example, if you run a recipe blog and add Schema Markup to your menu page, Google can use this information to create a rich snippet that displays your recipe ratings, cooking time, and ingredients. This can make your recipes more visible and attractive to potential customers.
Notice how the right image has ratings, ingredients and a nice picture - that’s an example of Schema.

Why Add Schema Markup to a Page?
Adding structured data can provide rich results, which are more appealing to users and may inspire them to interact more with your website.
In addition to the benefits mentioned earlier, there are several other compelling reasons why you should add Schema Markup (structured data) to your website pages…
Appear More in Search Engine Results
Firstly, it can help your website stand out in search results. By using Schema Markup, you can provide more detailed information about your products, services, or organisation, which can help you appear more prominently in search engine results. This can lead to more clicks and traffic to your website. Of course, there are more ways to optimise your website for search engine results. We cover some of these methods in this quick blog: 10 Steps to Optimise Your Webflow Website for Search Engines.
More Relevant Search Results for User
Secondly, Schema Markup can help improve the accuracy of your website's search results. It can help to provide more context about your website's content, which can help search engines understand what your website is about and what types of queries it is relevant to. This can lead to more relevant search results for users, which can increase the likelihood of them finding what they are looking for on your website.
Makes Your Website More Accessible
Thirdly, Schema Markup can help your website become more accessible. By providing structured data, you can help search engines better understand your content, which can help improve the accessibility of your website to people with disabilities. This can help ensure that your website is inclusive and accessible to all users.
Future-proof Your Website
Lastly, Schema Markup can help future-proof your website. As search engines continue to evolve and become more advanced, structured data will likely become even more important in helping websites to rank well in search results. By adding Schema Markup now, you can help ensure that your website is well-positioned to take advantage of future changes in search engine algorithms.
Here are some case studies of websites that have implemented structured data for their site:
- Rotten Tomatoes added structured data to 100,000 unique pages and measured a 25% higher click-through rate for pages enhanced with structured data, compared to pages without structured data.
- Rakuten has found that users spend 1.5x more time on pages that implement structured data than on non-structured data pages, and have a 3.6x higher interaction rate on AMP pages with search features vs non-feature AMP pages.
- Nestlé has measured pages that show as rich results in search have an 82% higher click through rate than non-rich result pages.
How to Add Schema Markup to a Webflow Website
If you're looking to add Schema Markup to your Webflow website, you're in luck. Adding Schema Markup to a Webflow website is a relatively straightforward process that can be accomplished in just a few steps.
The method involves identifying the pages that you want to add Schema Markup to, using a Schema Markup generator tool to create the appropriate Schema Markup code for each page, and then adding the code to your Webflow website using the custom code editor.
By following these steps, you can easily add Schema Markup to your Webflow website and reap the benefits of improved search engine visibility, richer search results, and better website performance.
Here’s a simple method:
- Identify the pages that you want to add Schema Markup to, such as a blog or service page.
- Use a Schema Markup generator tool to create the appropriate Schema Markup code for each page.
- Open your Webflow website in the CMS and go to the page that you want to add Schema Markup to.
- Click on the page settings icon in the top bar and then click on the “Custom Code” tab.
- Paste the Schema Markup code into the “Head Code” section of the custom code editor.
- Save and publish your changes.
It’s important to note that adding Schema Markup to your website is just one part of an effective SEO strategy. To see the best results, you’ll also need to optimise your website’s content and structure, build high-quality backlinks, and regularly update your website with fresh and relevant content.
Using MERKLE to Generate Schema Markups
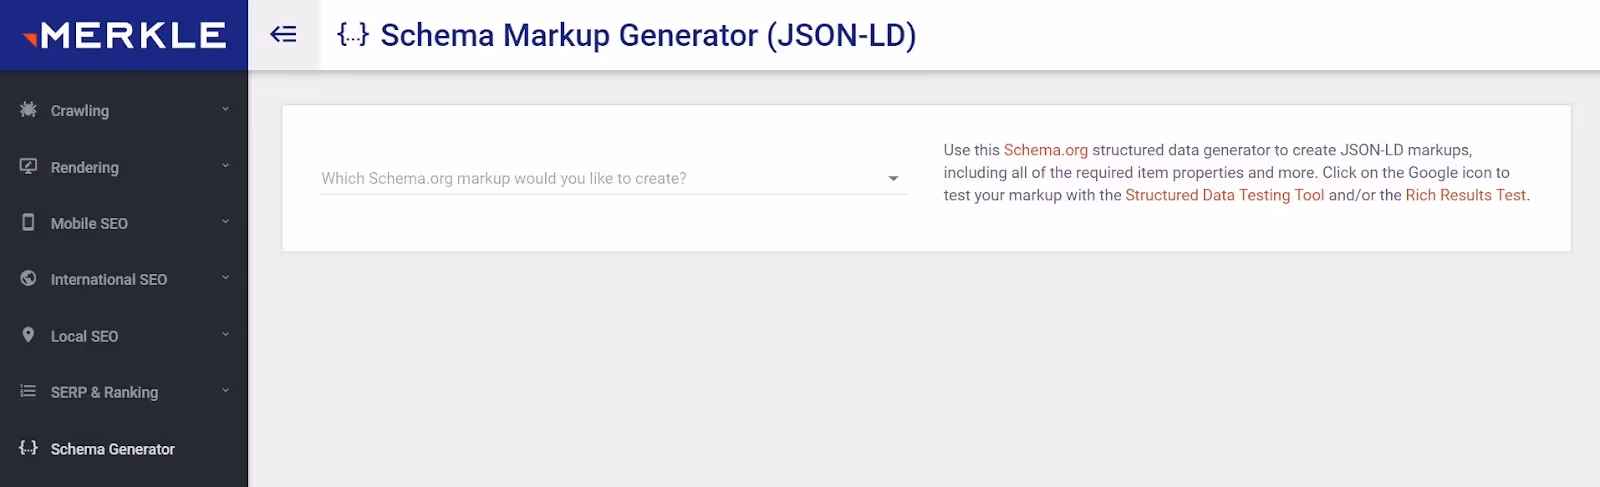
Merkle's Schema Markup Generator is a free tool that can help with creating Schema Markup code for your website. The tool is designed to make it easy to create Schema Markup code for various types of content, such as products, services, events, and more. Using Merkle's Schema Markup Generator can be useful because it provides a simple and straightforward way to create the appropriate Schema Markup code for your website.
To use the tool, simply select the type of content you want to create Schema Markup for, fill in the relevant fields, and click “Generate”. The tool will then generate the appropriate Schema Markup code for your content, which you can copy and paste into your website's HTML code.
As an example, let’s say you want to create a Schema Markup for one of your websites blogs. Here’s how you would do it using Merkle:
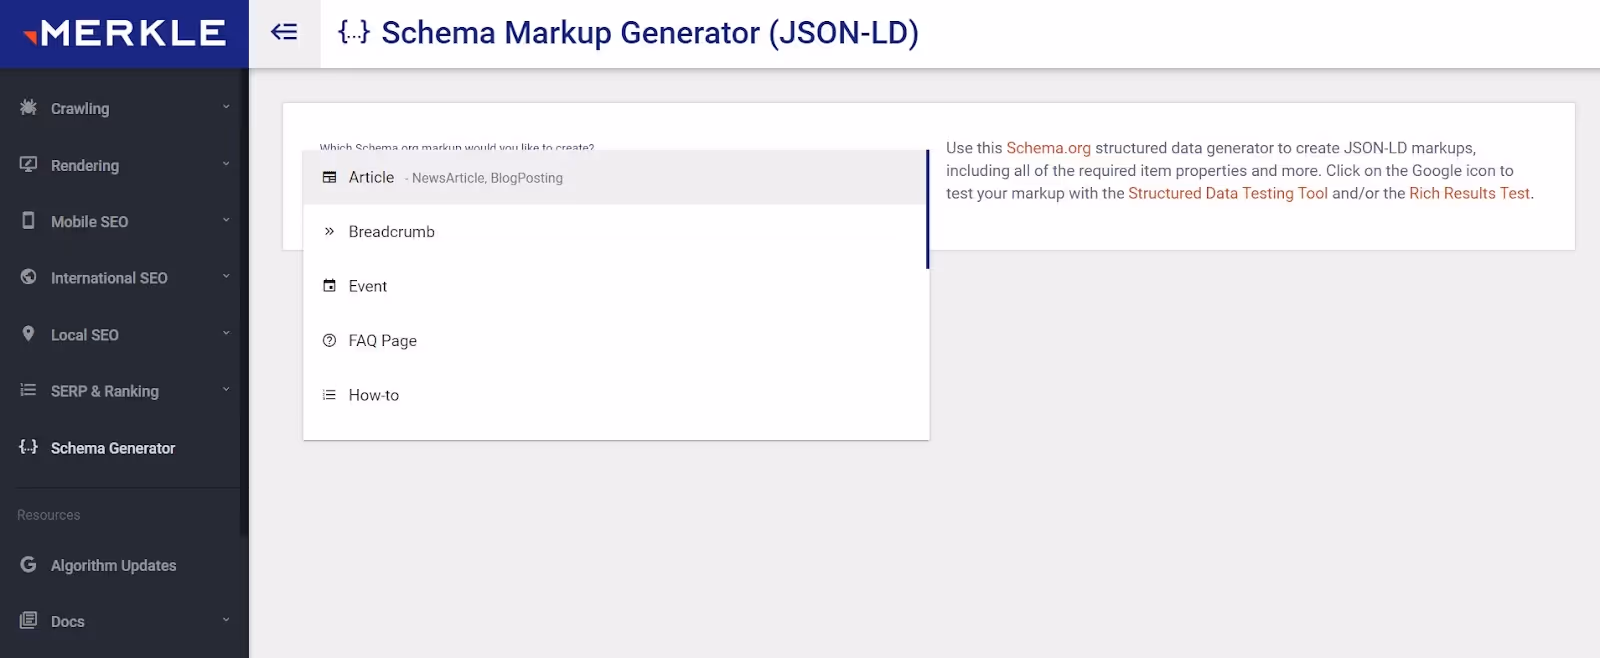
- Open up Merkle on your web browser and select ‘Which Schema.org markup would you like to create?’ at the top of the screen. The tab will open up and offer the following options:
- Article
- Breadcrumb
- Event
- FAQ Page
- How-to
- Job Posting
- Local Business
- Organisation
- Person
- Product
- Recipe
- Video
- Website
Click on the category you’re adding e.g. Article.
- Once you’ve selected your category the page will load up a series of fields for you to fill in e.g. Article type (article, news article, blog posting), Headline, Author etc. A lot of this can be done by simply copy and pasting the info from the blog page you’re making the schema for. You may find there are areas which don’t apply to you, for instance ‘Author URL’, there’s no need to panic, just don’t fill this bit in.
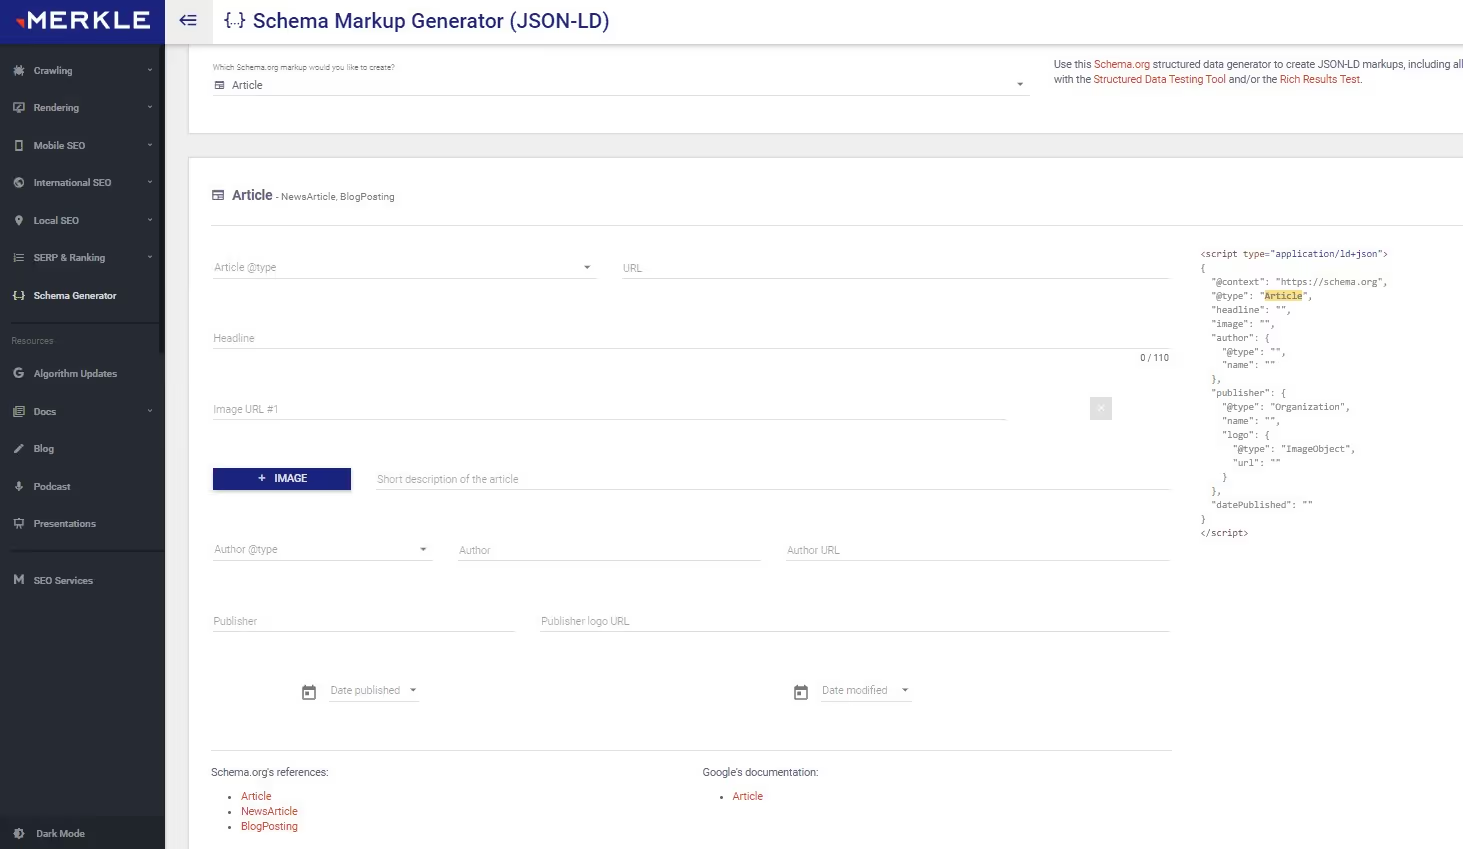
- You’ll notice on the right side of the page it will start generating custom code with the information you’re supplying.
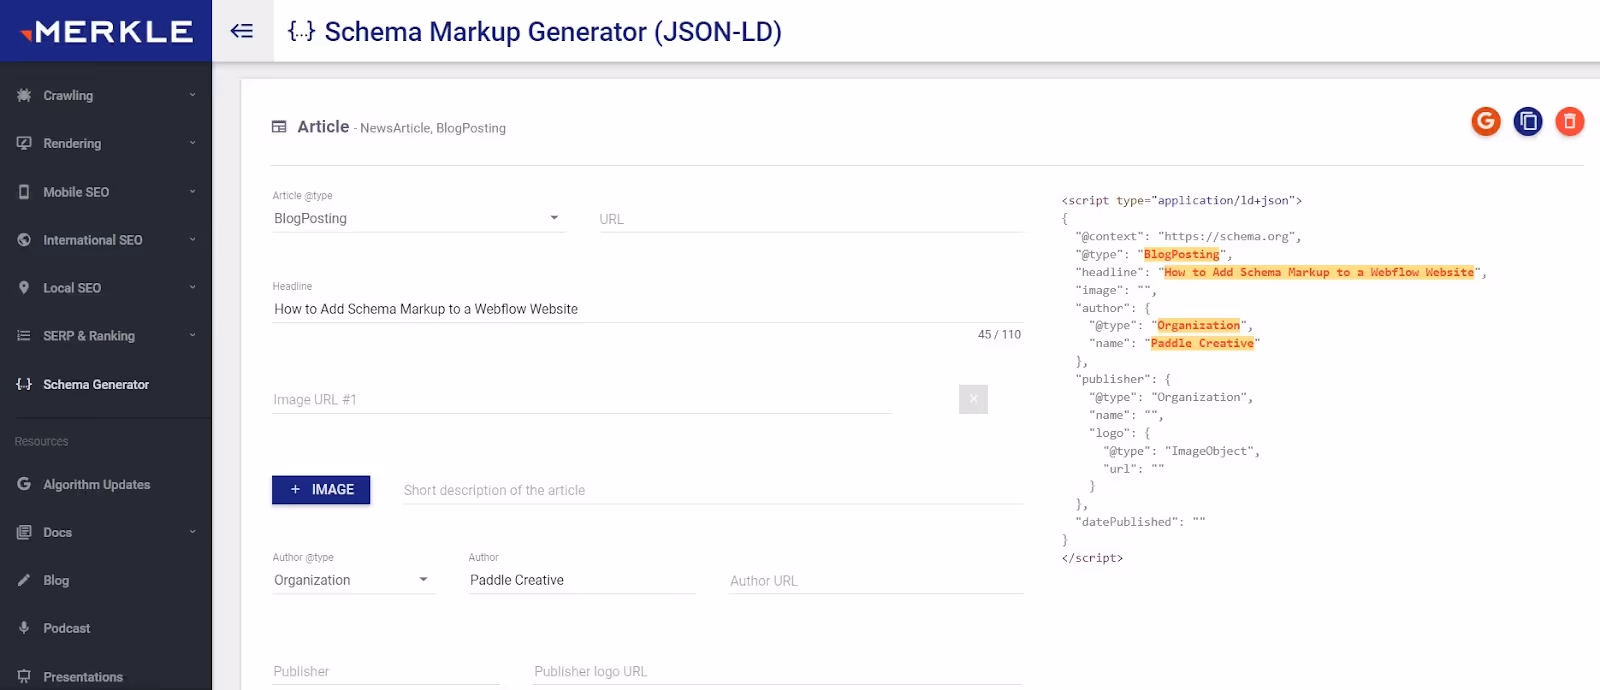
- Once you’ve filled out all the relevant sections the code on the right will be ready for you to take and implement into your Webflow page. All you need to do is copy the code and paste it into the ‘Before </body> tag’ section in your blog (in the Webflow CMS).
- All done! You can easily edit this schema markup for other pages on your site to, just change the key information i.e. URL, Headline etc. using the ‘Add Field’ button in the top right corner of the code box. You can generate dynamic schema data by using fields from CMS items in Webflow to inject data into the Schema code. Pretty cool.
- Be sure to test everything is working as it should. Some useful schema testing tools are the Rich Results Test and the Schema Markup Validator.
By using Merkle's Schema Markup Generator, you can easily add Schema Markup to your Webflow website and improve your search engine visibility, search results, and website performance.
Conclusion
To conclude, adding Schema Markup to your Webflow website can be a powerful way to improve your search engine visibility, attract more visitors, and improve your website’s performance. With the right tools and techniques, you can easily add Schema Markup to your website and start reaping the benefits today. Get in touch with our friendly Paddle Creative team to discuss how we can help.
.jpg)
%20(1)%20(1)%20(1).jpg)
.jpg)
%20(1).avif)
.avif)
.avif)