.svg)
Best Practices for Integrating Airtable with Webflow
Learn to integrate Airtable with Webflow

Introduction
Integrating Airtable with Webflow can significantly enhance the functionality of your website, whether you are managing content, tracking leads, or handling E-commerce operations. Both platforms have distinct strengths - Airtable as a versatile database management tool and Webflow as a sophisticated web design platform. This resource will delve into the benefits of this integration and explore the different methods to connect Airtable with Webflow.

Understanding Airtable and Its Benefits
Airtable stands out in the realm of no-code tools due to its ability to combine the simplicity of a spreadsheet with the depth of a full-fledged database. It allows users to manage various types of data using different views such as calendar, grid, gallery, Gantt, and Kanban. This flexibility makes it an invaluable tool for organising and managing data in a visually intuitive manner.
When integrated with Webflow, Airtable offers numerous advantages. For example, you can leverage Airtable’s database capabilities to dynamically manage Webflow’s CMS collections. This means that changes made in Airtable can automatically update content on your Webflow site.

Additionally, integrating Airtable with Webflow allows for seamless lead tracking. Data collected through Webflow forms can be sent directly to Airtable, streamlining your lead management process. Moreover, real-time data updates from Airtable can be reflected on your Webflow site, keeping your content current and accurate.
Methods to Connect Webflow with Airtable
There are several methods to connect Webflow with Airtable, each with its own set of features and limitations. These methods include using automation tools like Integromat (now Make) and Zapier; embedding Airtable directly into Webflow; and utilising Nobull for a more integrated solution.
Connecting Webflow and Airtable Using Automation Tools
Automation tools such as Integromat (Make.com) and Zapier offer powerful ways to connect Webflow and Airtable. These platforms enable you to create workflows that automate data transfer between the two systems, reducing manual input and ensuring data consistency.
Make.com

Make.com (Formerly Integromat) is a highly customisable tool that allows users to create complex workflows by linking Webflow and Airtable with other applications. This tool offers a wide range of actions and triggers for both platforms. For instance, you can automate the process of sending new Webflow form submissions to Airtable or updating Webflow CMS items based on changes in Airtable.
Integromat’s modular approach enables you to set up detailed workflows tailored to your specific needs. However, it can be more complex to learn compared to simpler tools like Zapier. Additionally, using Integromat introduces another tool into your workflow, which might be unnecessary if a simpler integration method would suffice.
Zapier

Zapier, on the other hand, is known for its ease of use and straightforward interface. It allows users to set up automations, or ‘Zaps’, that connect Webflow and Airtable with minimal setup.
While Zapier may not offer the same level of customisation as Integromat, it is well-suited for straightforward tasks. For example, you can use Zapier to automatically add new Webflow form submissions to Airtable or synchronise changes from Airtable to Webflow CMS items. The primary advantage of Zapier is its user-friendly design, which simplifies the process of setting up integrations. Nevertheless, it may not provide the same depth of customisation available with Integromat.
Embedding Airtable Directly into Webflow
Embedding Airtable into Webflow is a simpler method that does not require the use of additional automation tools. This approach involves adding an embed code from Airtable directly into your Webflow site. By doing this, you can display Airtable data on your site through embedded views or forms.
One of the primary benefits of embedding Airtable is the ease of integration. You can add an embed code to your Webflow project in just a few clicks, and any changes made in Airtable will be reflected immediately on your site. This method is particularly useful for displaying data such as project progress, events, or other dynamic content.
However, embedding comes with limitations. The design and customisation options for embedded Airtable content are restricted compared to what you can achieve with Webflow’s native design tools. Additionally, embedding Airtable can impact your site’s load time and SEO performance, as the embed code may add extra loading time and affect how search engines perceive your content. Therefore, it’s really important to weigh up the pros and cons of this method before going ahead.
Using Nobull for Direct Integration
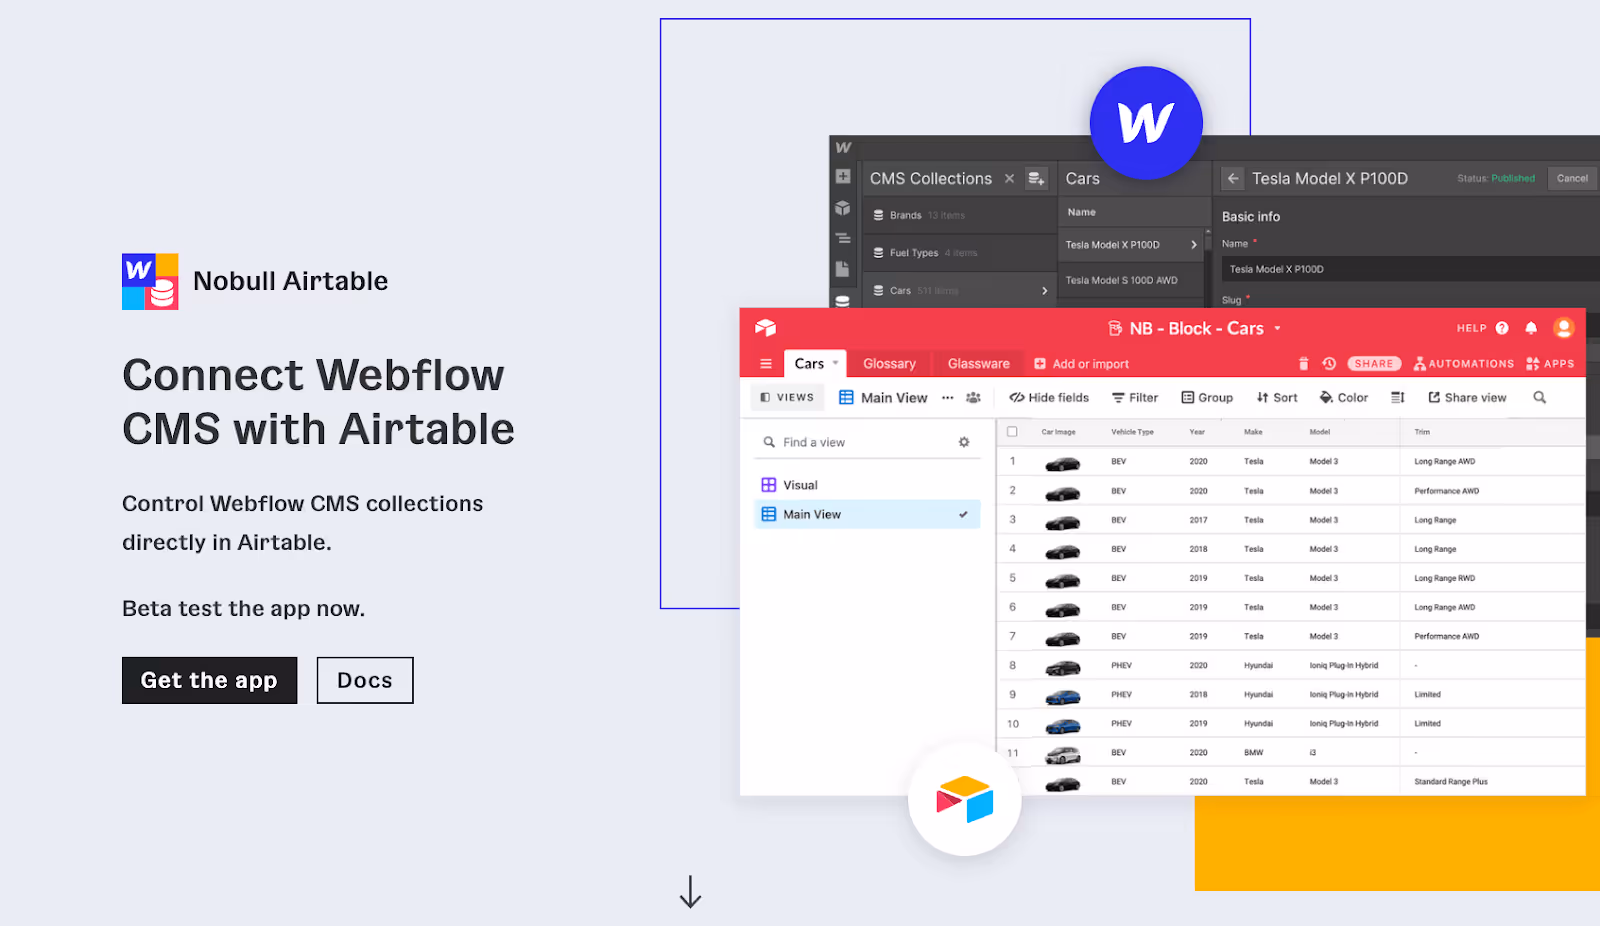
Nobull is a no-code tool designed specifically for integrating Airtable with Webflow. Unlike other methods, Nobull operates directly within Airtable, allowing you to map fields between Webflow CMS collections and Airtable tables.
Nobull’s key advantage is its seamless integration. As a tool that works within Airtable, it simplifies the process of connecting Airtable with Webflow. You do not need to use a third-party automation platform; instead, you can manage the integration directly from Airtable’s interface. Nobull is also a free tool, making it an attractive option for those looking to integrate Webflow and Airtable without incurring additional costs. The setup process is straightforward, with a user-friendly interface that guides you through mapping fields between Webflow and Airtable.
Like the other integration options, Nobull too has limitations. Automations with Nobull will only occur when the Airtable application is open, which may not be ideal for all users, and it only offers a limited set of triggers, which may not be sufficient for more complex workflows. It is also worth noting that Nobull is exclusively designed for Airtable, which means integrating other tools or extending your workflow may require additional solutions.
Conclusion
Connecting Airtable with Webflow can greatly enhance your website’s functionality by enabling dynamic content updates, streamlining lead tracking, and providing real-time data display. The choice of integration method will depend on your specific needs, technical expertise, and desired level of customisation.
Automation tools like Integromat and Zapier offer robust and flexible solutions, while direct embedding and Nobull provide simpler alternatives. By carefully evaluating these options, you can select the most appropriate method to leverage Airtable’s database capabilities and improve the functionality of your Webflow project.
If you need guidance when making this decision or while completing the integration process, drop the Paddle Creative team a message, we’re here to help.