
.svg)
How to Use Webflow’s Editor Role for Faster Website Updates
Empower your team to make website updates without dev help using
.png)
.svg)
1. Updating Websites Shouldn’t Be a Developer-Only Task
Let’s be honest—most website updates don’t need a developer.
Want to fix a typo? Update a testimonial? Add a new blog post or change a CTA? These are simple, non-technical tasks. And yet, in many companies, they still get funnelled through the dev team, adding unnecessary delays and frustration.

If you’re a marketer, content lead, or founder, waiting days to change a headline or upload an image kills momentum. You should be able to move quickly, especially when you’ve got a campaign to launch or a landing page to optimise.
That’s exactly where Webflow’s Editor role comes in.
It’s designed to give non-designers the power to update content without needing access to the full design canvas. No learning curves, no risk of breaking layouts—just straightforward content editing in a visual, intuitive interface.
2. What Is the Webflow Editor Role?
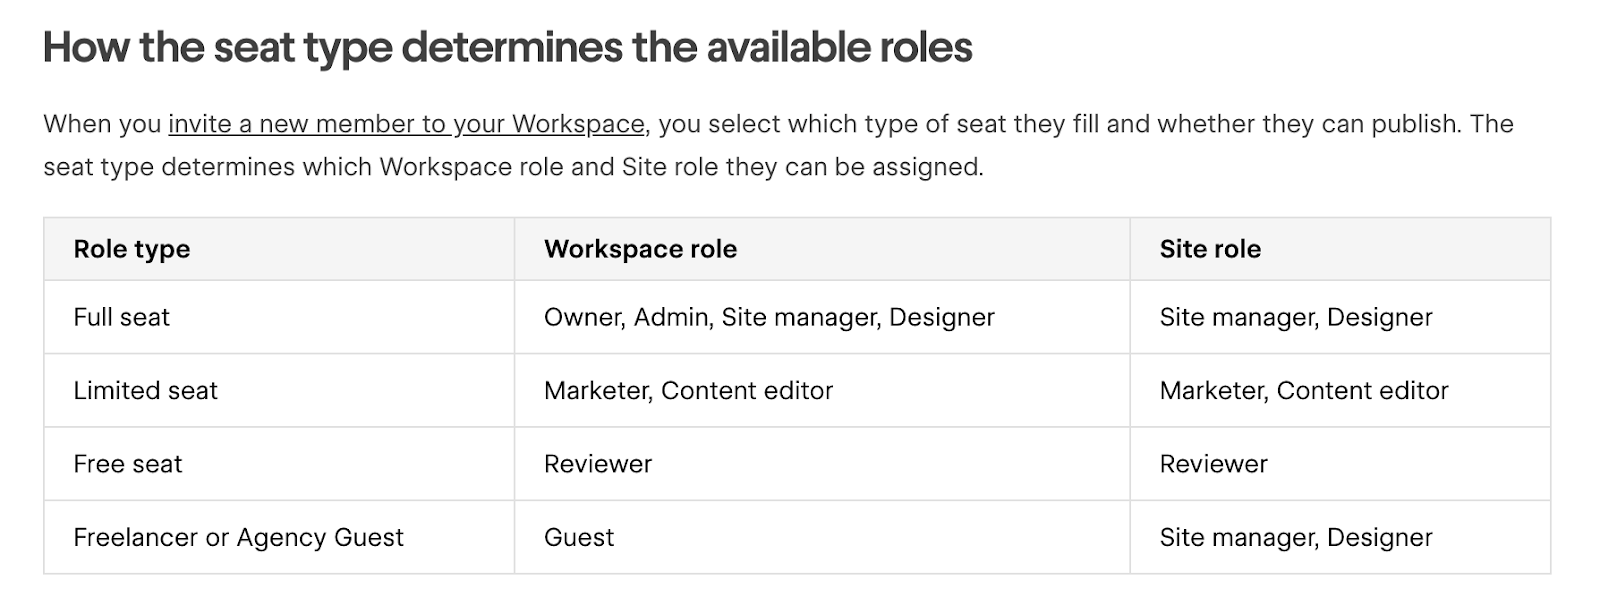
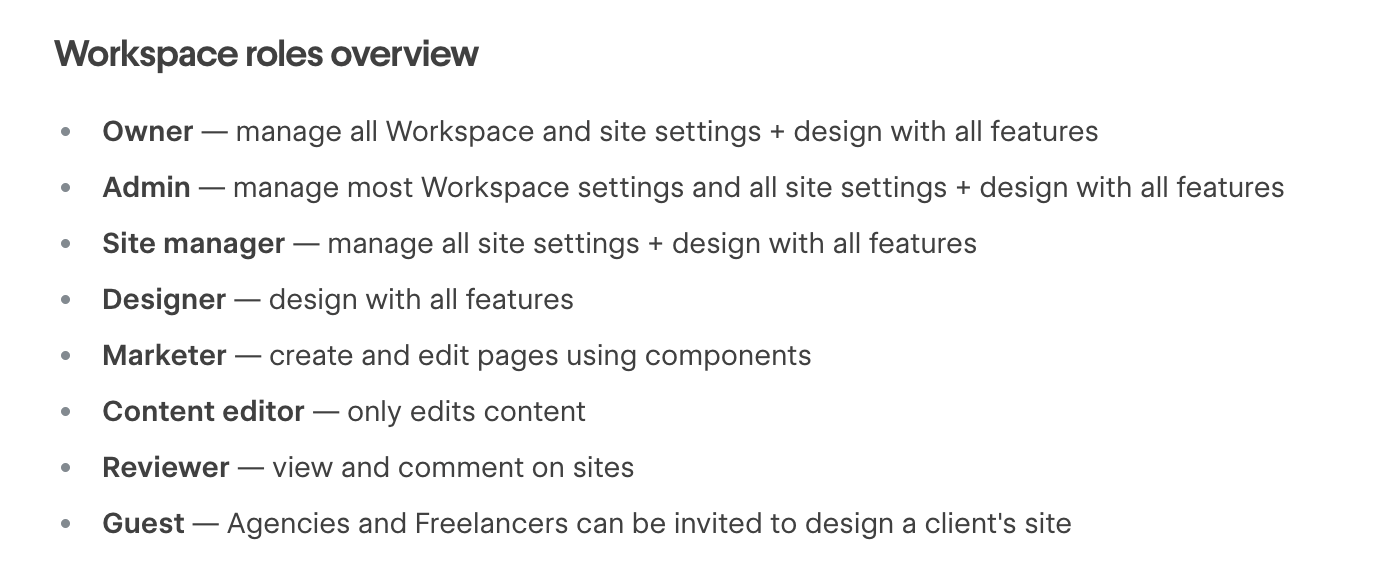
Read Webflow’s article explaining user roles and what access they have.
The Webflow Editor is a stripped-down, user-friendly interface that allows you (or your team) to update text, images, links, blog posts, and SEO fields, without needing to touch any code or layout settings.

Think of it like a “lite” version of your website’s backend.
It’s built for marketers, content creators, and even clients who want control over content, but not the design.
Here's what you can do with the Editor:
- Edit on-page content, such as text and images.
- Add new CMS items, such as blog posts, team members, and press releases.
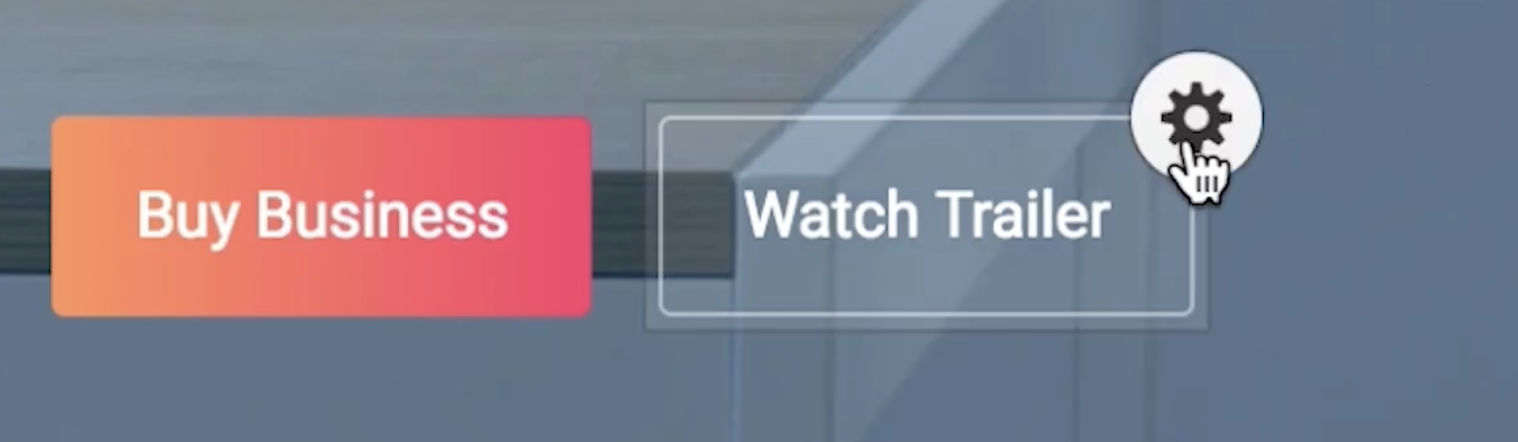
- Update links, forms, and call-to-action (CTA) buttons.
- Optimise meta titles and descriptions for SEO.
- Preview changes in real-time before hitting "Publish".
And here’s what you can’t do (which is a good thing!):
- Change the layout or structure of the page. But you can now do that using the Build Mode. Read our Guide on Webflow Build Mode here.
- Edit styling (like fonts, colours, spacing).
- Access complex interactions or custom code.
This ensures your content team can make updates without accidentally breaking anything.
3. What You Can Update with the Webflow Editor
The Editor role is surprisingly powerful. Once you’re logged in, you can click on any piece of editable content on the page and update it instantly. Here's what’s within your control:
✅ Text Content
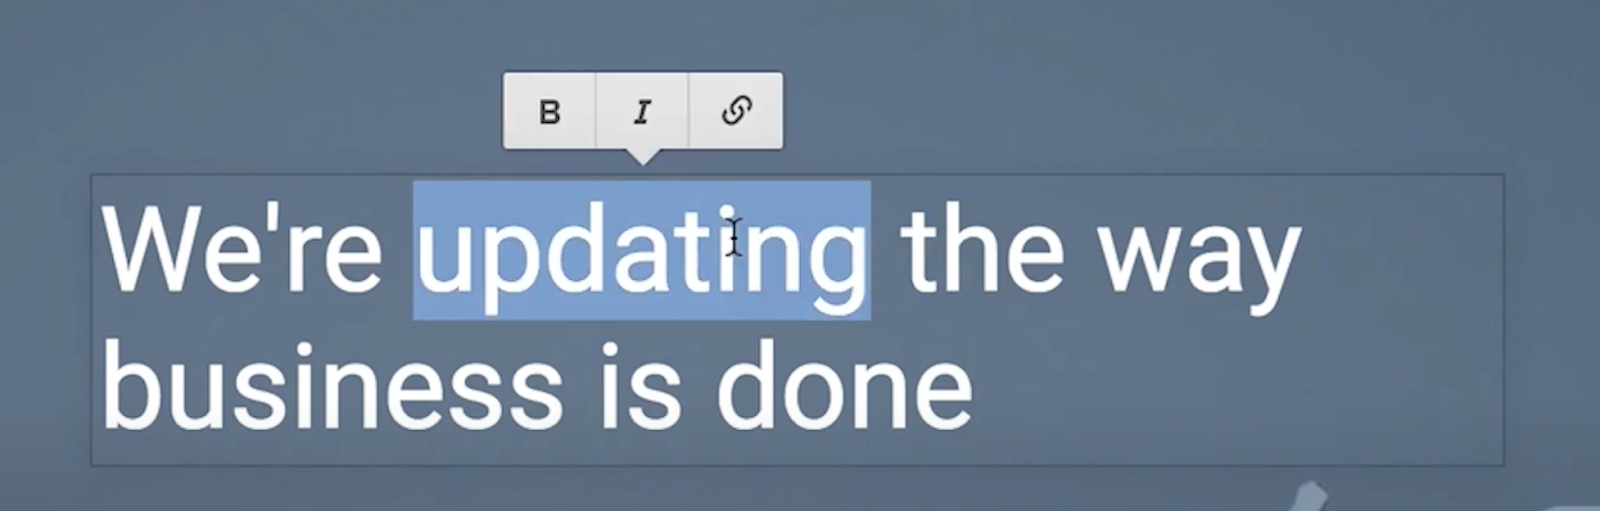
- Headlines, paragraphs, descriptions.
- Button labels and CTA copy.
- Team bios, testimonials, and FAQs.
✅ Images & Media
- Replace images by uploading directly.
- Add alt text for accessibility and SEO.
- Swap icons or logos if allowed in the structure.
✅ Links & CTAs
- Update URLs.
- Link to internal pages or external sites.
- Change the anchor text and button destinations.
✅ CMS Content (The Real Power!)
If your site uses Webflow CMS, you can:
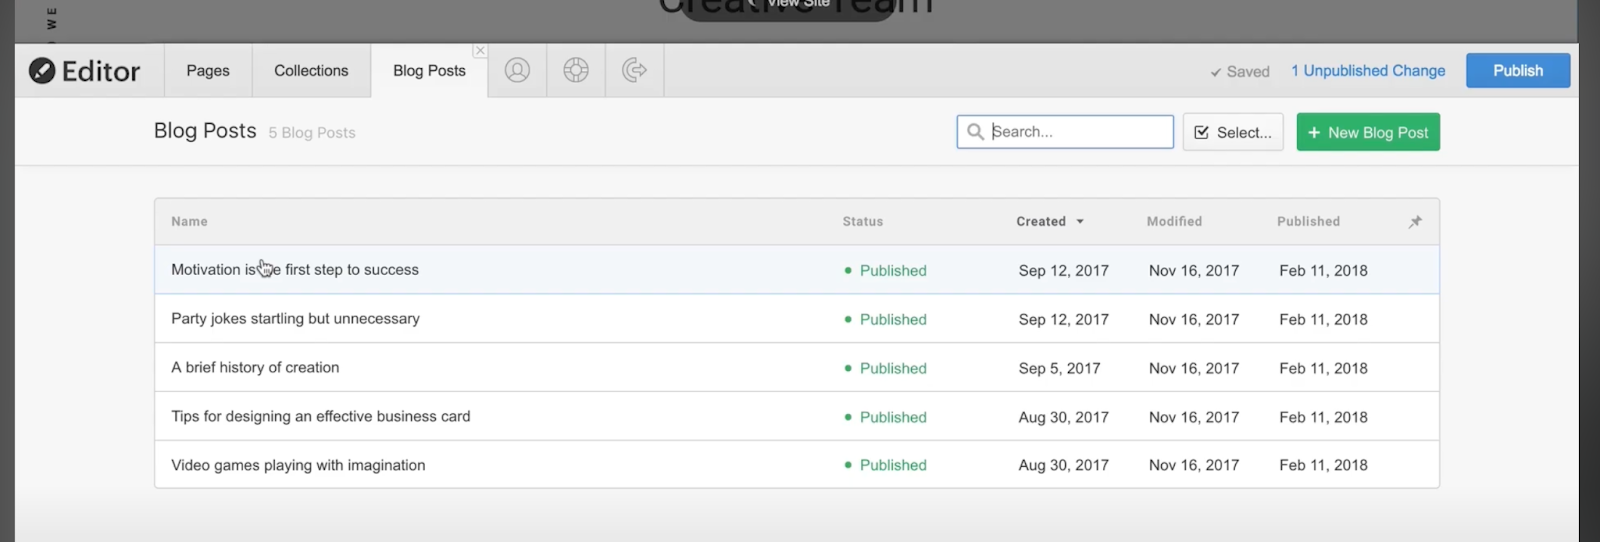
- Add and edit blog posts.
- Update team profiles or case studies.
- Swap out pricing plans or service details.
- Schedule posts to go live later.
✅ SEO Settings (CMS Pages)
- Meta titles.
- Meta descriptions.
- Open Graph title and images.
All this happens inside a clean, no-code dashboard. It’s fast, safe, and efficient.
4. How to Access the Webflow Editor
Getting into the Webflow Editor is incredibly simple—no complex dashboard, no intimidating interface. It’s built for everyday users who just want to get in, update content, and publish.
Here’s how to access it:
✅ Option 1: Via the Webflow Dashboard
- Log in to Webflow.
- Select the site you want to edit.

- Click on the “Editor” tab from the top navigation bar.
- You’ll be taken into the live version of your website, but with editable areas highlighted.
✅ Option 2: Direct URL Access
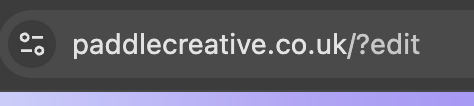
You can also go directly to your live website and simply add ?edit to the end of your domain URL.
Example:
If your site is www.yoursite.com, just visit:
www.yoursite.com?edit
You’ll be prompted to log in using the email associated with your Webflow Editor invite.
Once inside, you’ll see:
- Your site is almost exactly as visitors would see it.
- Editable elements are highlighted as you hover over them.
- A simple top bar with “Save” and “Publish” options.
No messy menus, no distractions. Just you, your content, and a clean path to publishing.
5. Real-World Use Case: A Marketer Updating a Campaign Landing Page
Let’s bring this to life.
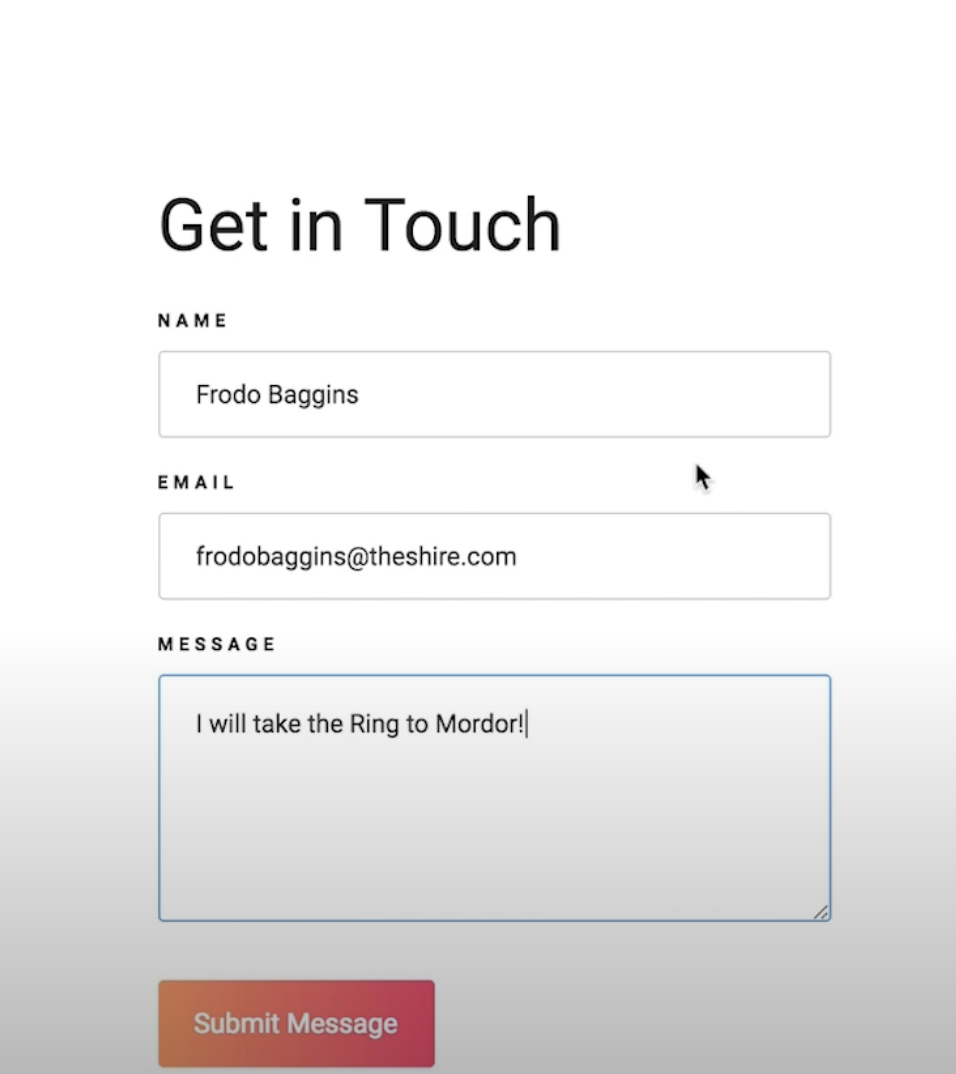
Imagine you’re launching a flash promotion. You’ve already run the Facebook ads, sent the email blast, and now you need to:
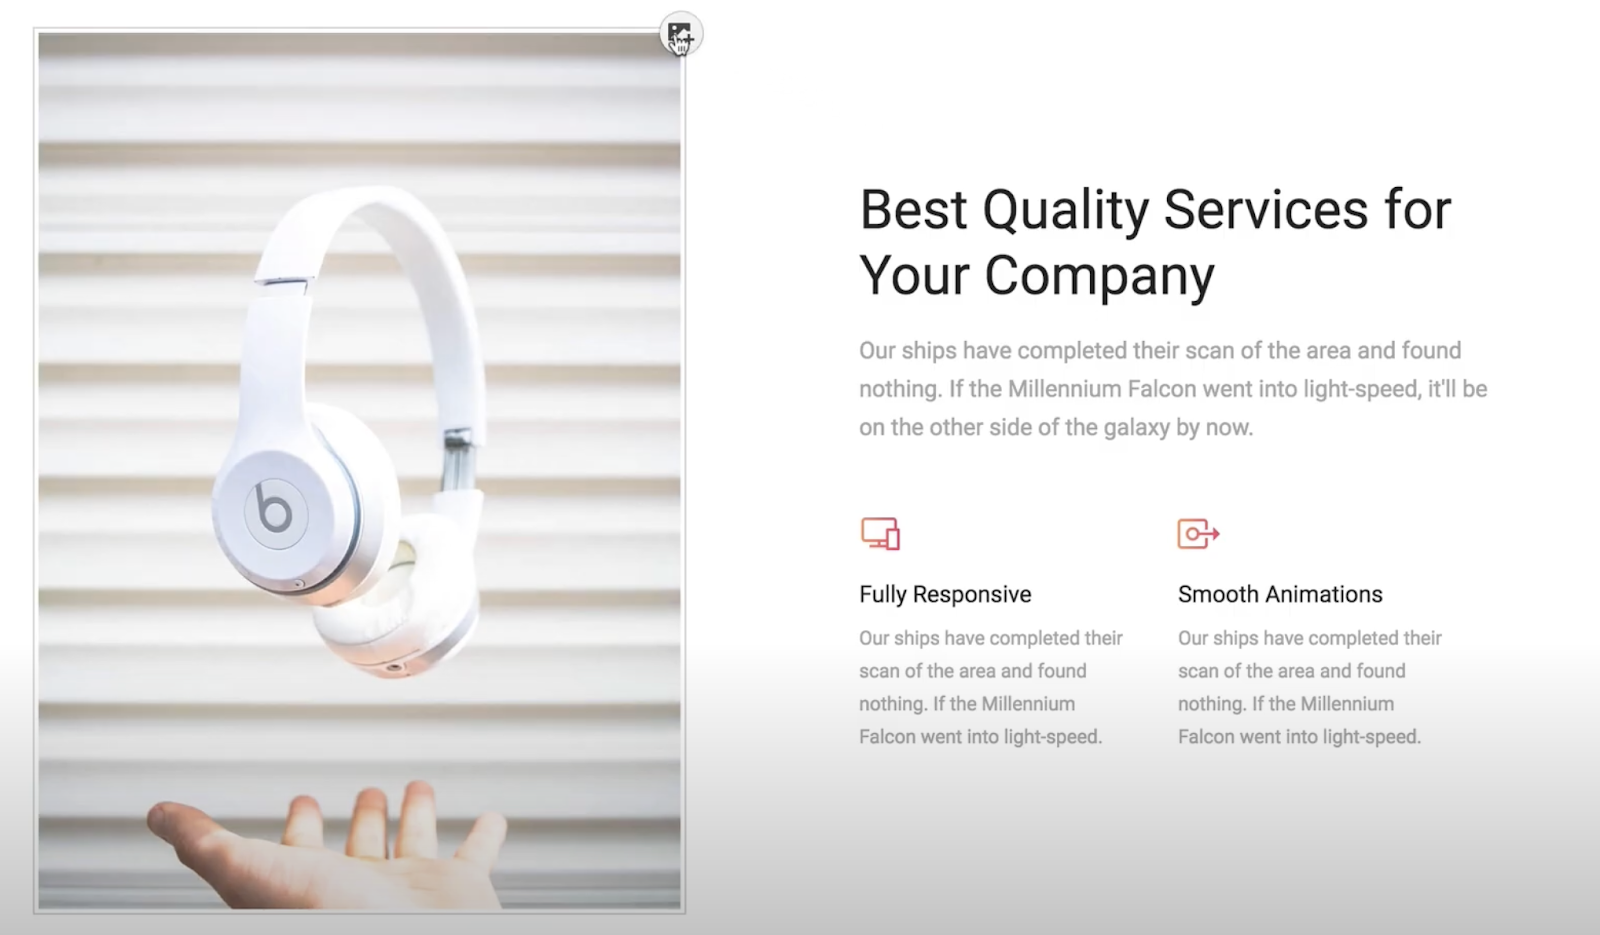
- Update the landing page headline.
- Swap in a new product image.
- Change the CTA button to say “Book Now” instead of “Learn More”.
Here’s how that looks in Webflow Editor:
- You head to your landing page and add ?edit to the URL.
- You log in and hover over the headline—click to edit and type in the new one.
- You click the image, upload your new asset, and it replaces instantly.
- You update the button text and link destination in seconds.
- You click “Publish” - and it’s live.
All of that, in under 10 minutes.
No Slack messages. No dev backlog. No delays.
The Editor role lets marketing teams move at the speed of campaigns, not code.
6. Editor Role + Webflow CMS = A Powerful Combo
While the Editor is powerful on its own, it shines when your site is connected to Webflow CMS.
Webflow’s CMS allows you to create structured content collections—things like:
- Blog posts
- Case studies
- Team member bios
- Events
- Projects
- FAQs
Each collection is like a content template. You (or your team) just fill out a form—title, image, description, etc.—and it automatically populates a beautifully designed, pre-built page.
Why this matters:
- Non-technical users can add content without needing design help
- The formatting and layout stay consistent, thanks to pre-defined templates
- You can bulk-edit and scale quickly (think 50+ blog posts or 100+ testimonials)
And of course, all of this is available in the Webflow Editor interface. Your marketing or content team can manage your entire blog without needing to open the Designer.
This makes it ideal for startups, agencies, and growing businesses that want content flexibility without losing control over design.
7. Best Practices for Using Webflow Editor Effectively
While Webflow Editor is intuitive and safe to use, a few best practices can help you make the most of it and avoid small errors that can slip through during busy moments.
✅ Keep roles clear
Only give Editor access to team members responsible for content. If someone needs to touch design or layout, they’ll need the Designer role; otherwise, keep things clean and restricted.
✅ Stick to naming conventions
If you're managing CMS content, such as blog posts or team bios, make sure your fields and labels are named. That way, anyone editing content knows exactly what to fill in.
✅ Use alt text and SEO fields
Encourage your team always to fill in image alt tags and meta descriptions. These small details make a big difference for accessibility and search engine visibility.
✅ Don’t forget to publish!
Changes in Editor mode are saved, but not live until you hit “Publish”. Create a simple internal checklist if needed, especially when multiple people are working on the same content.
✅ Train your team
At Paddle Creative, we include short Loom videos and guides showing your team exactly how to use the Editor role. A 15-minute walkthrough can save hours down the line.
8. How Paddle Creative Helps You Maximise the Editor Role
We don’t just build beautiful Webflow sites—we build them so your team can use them confidently.
That includes:
- Clean CMS setup with logical, intuitive structure
- Custom Component libraries (for easy landing page assembly)
- Editor-Ready content fields, designed with non-tech users in mind
- Short, role-based Loom videos to train your team
- Ongoing support and updates when you scale or need new modules
We help you strike the perfect balance: a site that’s structured and scalable for your dev and design teams, but also friendly and flexible for your marketers and content owners.
Your team should be able to update the site without worrying they’ll break something. That’s exactly what our system empowers them to do.
9. Wrap-Up: Editor Role = Faster, Safer Website Updates
The Webflow Editor role is one of the most underrated features of the platform. It unlocks speed, reduces developer dependency, and helps marketing and content teams move fast, without sacrificing design integrity.
With the right CMS structure and a little upfront setup, your website becomes a living, evolving tool, not a static brochure.
No more delays. No more dev tickets. Just smooth, safe updates, whenever you need them.
If you want a Webflow site built with this kind of flexibility and freedom in mind, we’re here to help.
Let’s talk about building you an Editor-Ready, marketer-friendly Webflow site.